


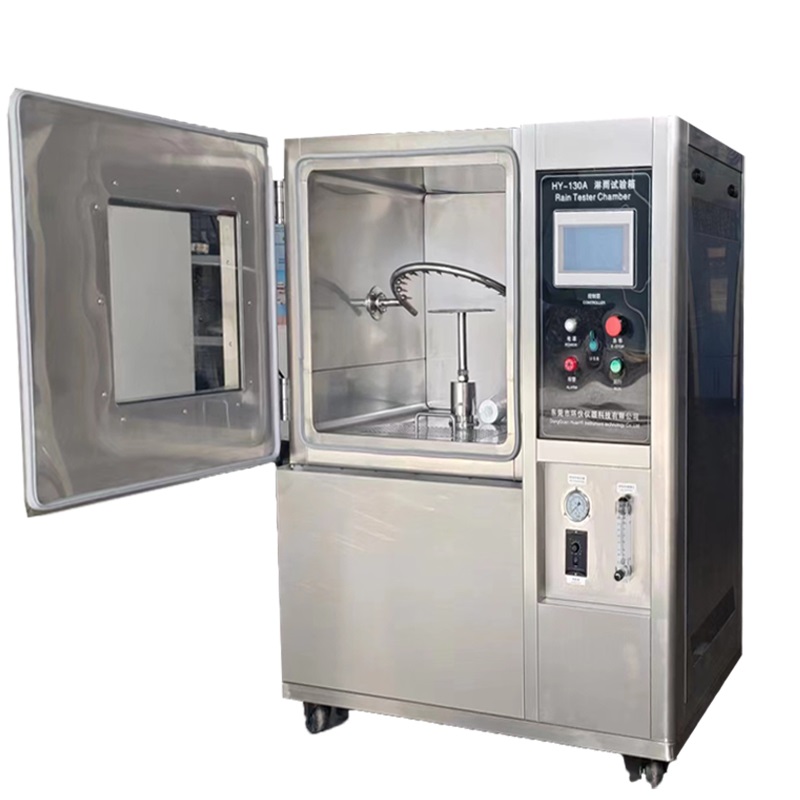
Rain Test Chamber Nozzle Clog Problem: Cleaning Steps + Prevention Tips
The nozzle of a Rain Test Chamber is a key component for simulating rainfall and ensuring the accuracy of water resistance testing. Clogged nozzles can cause uneven spraying (e.g., patchy rain loss or a thinner water flow), directly impacting test results for standards such as IPX3-IPX9K. Nozzle clogs are often caused by the accumulation of impurities in the water, the condensation of calcium and magnesium scale, or the adhesion of sample residue. Following the "safe disassembly → graded cleaning → precise installation → long-term prevention" process is essential to both clear the nozzle and avoid damage.
I. Troubleshooting: Identify the three typical symptoms and causes of nozzle clogs.
Before cleaning, locate the clogged nozzle through "observation + testing" to avoid misdiagnosing other faults (such as insufficient pressure):
| Blockage symptoms | Common causes | Non-blocking interference factors (need to be eliminated) |
| No water flow from the nozzle, only a small amount of water dripping | The nozzle aperture is blocked by large particles of impurities (such as pipe rust, unfiltered sediment) | Insufficient air compressor pressure (lower than standard value), broken water pipe |
| The spray is "line-shaped" rather than "mist/column-shaped" | The pores are partially blocked by fine impurities (such as scale, coating debris shed from the sample) | Nozzle angle deviation, improper water pressure adjustment |
| Multiple nozzles are partially blocked, resulting in uneven spraying | The water inlet filter is damaged, impurities enter individual nozzles; or it has not been cleaned for a long time, and blockages gradually accumulate | The nozzle installation height is inconsistent and the sample holder is blocked |
Quick verification method: Turn off the power of the equipment, remove the blocked nozzle, and flush it with clean water from the water inlet. If the water flow is still not smooth or the water outlet shape is abnormal, the blockage can be confirmed.
II. Disassembly and Cleaning: Clogs are classified into "minor" and "major" categories, and can be effectively cleared in three steps.
The nozzles in the rain test chamber are often made of brass or stainless steel (water-resistant) and have a small aperture (approximately 1.2mm for IPX5/6 nozzles and 0.8mm for IPX9K). When cleaning, avoid scratching with hard objects to prevent the aperture from widening. The specific steps are as follows:
Step 1: Shut down and cut off the water supply.
Turn off the main power supply to the rain test chamber and shut off the water supply (for example, by closing the solenoid valve or water inlet valve). Release any residual pressure in the water pipes (open the equipment drain valve to drain any accumulated water). This will prevent water from spraying during disassembly.
Step 2: Locate and Remove the Nozzle
Find the nozzle mounting location (usually on the spray arm or spray plate) according to the equipment manual:
Threaded Nozzles: Use a dedicated wrench (an open-end wrench with a rubber pad is recommended to prevent slipping and scratching the nozzle) to gently unscrew it counterclockwise (do not use excessive force to prevent damage to the threads).
Snap-on Nozzles: Use a flat-blade screwdriver (with electrical tape wrapped around the head) to gently pry the clip and remove the nozzle from the slot (be sure to save the clip to avoid losing it).
Step 3: Clean the Nozzle Area
Wipe the nozzle mounting socket with a lint-free cloth to remove any remaining scale or debris to prevent it from entering the nozzle during installation.
III. Prevention Tips: Four Measures to Reduce Clogs and Extend Nozzle Life
Optimize Influent Water Quality: Install a Filtration System
80% of nozzle clogging is due to impurities in the influent water. We recommend installing a "two-stage filtration" system in the equipment's inlet pipe: a pre-filter (50μm pore size, filtering out silt, sand, and rust) and a precision filter (10μm pore size, filtering out fine particles). The filters should be removed and cleaned monthly to prevent clogging.
Note: In hard water areas (severe scale buildup), a water softener should be installed at the inlet, or distilled/deionized water should be used directly to reduce calcium and magnesium ion condensation.
Regular Nozzle Cleaning: Schedule a schedule based on frequency of use.
High-frequency use (≥2 tests per day): Perform a light cleaning of all nozzles (rinsing with clean water and backflushing with compressed air) every 2 weeks.
Low-frequency use (≤3 tests per week): Clean once a month. Before each test, run the unit at no load for 3 minutes to allow the water to flush out any remaining impurities.
Standardized Sample Testing: Prevent Debris from Entering the Nozzles
When testing samples with coatings, powders, or easily detachable components, place a filter (5mm pore size) beneath the sample to prevent sample debris from entering the pipes with the water flow. After testing, promptly clean any debris from the bottom of the chamber to prevent accumulation and blockage of the drain outlet, potentially causing backflow of wastewater into the nozzles.
Storage and Protection: Protect equipment when not in use for extended periods of time.
If the equipment has been out of service for more than one month, remove all nozzles, rinse with distilled water, dry them, and store them in a sealed bag to prevent dust from entering. Before re-use, rinse the nozzles and pipes once with distilled water before reinstalling for testing.
The above disassembly and cleaning steps can quickly resolve nozzle blockages in the rain test chamber. Combined with preventative measures, this can significantly reduce the frequency of blockages, ensuring spray uniformity and test accuracy. The key principle is: "Prioritize physical flushing for minor blockages; use ultrasonic cleaning with specialized tools for severe blockages; prioritize regular water quality control and cleaning to prevent distorted test results or nozzle damage due to blockage."