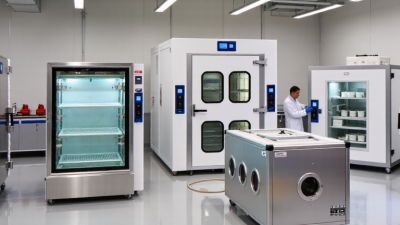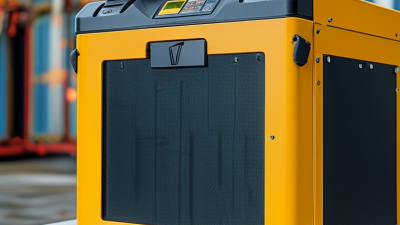
Choosing the right Climate Chamber begins with the product, not the equipment brochure. A medical sensor, lithium battery, and exterior coating face very different environmental risks. Each may require controlled temperature, humidity, light, altitude, or rapid cycling.
Dr. Michael Pecht, a recognized reliability engineering expert, has emphasized this practical principle: “A test is meaningful only when it represents real operating conditions.” That idea should guide every chamber decision. Define the product’s service environment first. Record expected temperature ranges, humidity levels, exposure duration, ramp rates, and sample dimensions. A chamber that reaches 150°C may still be unsuitable if humidity control remains unstable.
Look closely at uniformity and recovery performance. Ask how quickly the chamber returns to its set point after opening. Review calibration records, sensor placement, alarm functions, and data logging. Standards such as IEC 60068 or ASTM methods may support the test plan, but they do not replace engineering judgment. Standards can be followed poorly.
Energy use also deserves attention. A heavily insulated chamber may reduce operating costs during long tests. However, advanced controls can increase purchase and maintenance expenses. That trade-off is easy to underestimate. Service access matters, too. Replacing a sensor should not require dismantling half the system.
Independent laboratory experience can reveal weaknesses that specifications hide. Request sample test reports, uncertainty data, and references from users with similar products. The best Climate Chamber is not necessarily the largest or most expensive model. It is the one that reproduces real conditions consistently, safely, and measurably. Even careful buyers may revise their choice after the first validation run.
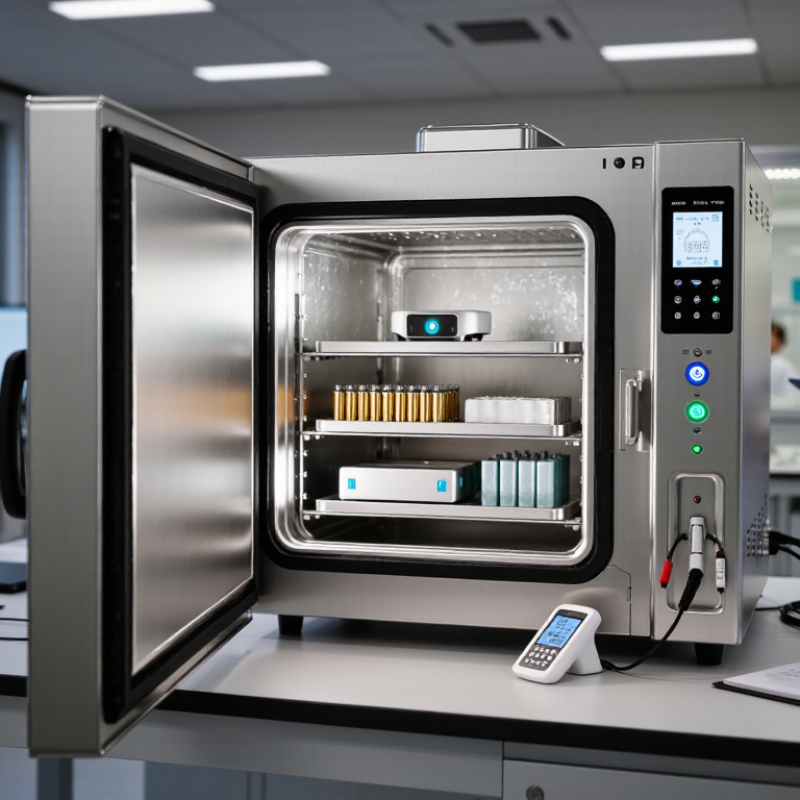
How to Choose the Right Climate Chamber?
Climate chamber basics begin with the test profile. Temperature alone is rarely enough. IEC 60068-2-1 and IEC 60068-2-2 define standard cold and dry-heat methods, while humidity testing needs controlled moisture and condensation conditions. The IPCC’s 2023 Synthesis Report states that global temperatures reached about 1.1°C above pre-industrial levels during 2011–2020. That shift makes reliable environmental simulation more important for product validation.
Core testing functions include temperature cycling, constant temperature, humidity control, ramp-rate management, and recovery testing. Check the working range, chamber volume, uniformity, and sensor accuracy. A loaded chamber may recover slowly, even when its empty specification looks excellent. Test objects should not block airflow. Small details matter. Positioning can change results.
Energy use also deserves attention. The International Energy Agency’s The Future of Cooling report projects that cooling energy demand could more than triple by 2050 without efficiency improvements. Choose a chamber with suitable insulation, efficient refrigeration, and programmable standby modes. Calibration should follow traceable procedures, ideally within an ISO/IEC 17025-accredited system. I have seen teams select a wider temperature range than necessary, then accept higher costs and slower transitions. That choice is sometimes difficult to justify. A better decision matches the chamber to the real test method, product size, load, and expected failure risks.
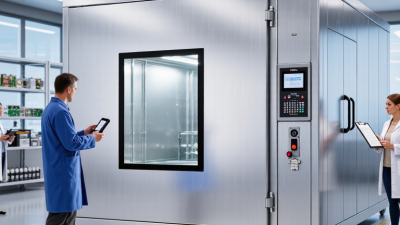
A reliable chamber starts with a precise test profile, not a large temperature range. Define the lowest and highest temperatures, humidity limits, ramp speed, exposure time, and cycle pattern. Include the product’s operating load. A powered device may release heat and distort chamber conditions.
Regulatory data can guide the profile. ICH Q1A(R2) specifies long-term stability testing at 25°C ±2°C and 60% ±5% relative humidity. Its accelerated condition uses 40°C ±2°C and 75% ±5% relative humidity. For cyclic damp heat, IEC 60068-2-30 includes exposures reaching 55°C. These values are useful references, but they may not represent your real environment. The first specification is rarely perfect.
Tips: Measure the actual space around the specimen. Do not rely only on the chamber display. Check sensor accuracy, humidity recovery, condensation control, and uniformity under load. A chamber rated from -70°C to 180°C may still perform poorly at high humidity. Working volume matters too. Leave enough clearance for airflow, cables, and heat release.
Ask for mapping data from an independent calibration process. Review results at empty and loaded conditions. Also confirm whether the chamber can maintain humidity near low temperatures, where frost can form. A practical test may need several revisions. That is normal, and ignoring this step can create misleading results.
Choosing the right climate chamber starts with the test, not the catalog. A temperature-only chamber suits stability checks where moisture is irrelevant. A humidity chamber is better for packaging, electronics, materials, and biological samples. For rapid transitions, a thermal shock chamber moves samples between hot and cold zones. Walk-in chambers support large assemblies, but they demand more floor space and energy. Benchtop units fit small specimens and limited laboratory areas. The choice becomes clearer when exposure conditions are written in numbers.
Size should follow the sample footprint, loading method, and airflow requirement. Leave space around each item. Crowding can create warm corners and misleading humidity readings. A chamber that is too large may recover slowly after door openings. One that is too small may restrict circulation and future test work. Measure the widest fixture, cable path, and clearance before ordering. I have seen teams size chambers for today’s samples, then struggle with a larger prototype. That oversight is easy to repeat.
Control capability deserves equal attention. Check temperature uniformity, humidity stability, ramp rate, and recovery time. For long tests, automatic logging should record conditions, alarms, door events, and sensor status. Remote access can help, but it should not replace local alarms or scheduled checks. Ask how often sensors require calibration and how failures are reported. Calibration records should remain traceable to recognized references. A precise display does not guarantee a precise test. Set realistic tolerances, verify them with independent measurements, and review the first cycle closely. The first setup may expose an assumption you missed.
How to Choose the Right Climate Chamber?
A climate chamber should reproduce conditions accurately, not merely display impressive specifications. In laboratory use, I check temperature uniformity, humidity stability, and recovery time after opening the door. A chamber may reach its target quickly when empty, yet perform differently with shelves full of test samples. Ask for loaded performance data and calibration records with traceable measurements. Do not trust brochure numbers alone. Short tests matter.
Safety features deserve equal attention. Look for independent over-temperature protection, clear alarms, emergency shutoff controls, and a door that can open from inside. For humidity testing, inspect water systems, drainage, and leakage protection. The control system should record faults and preserve test data after a power interruption. I once focused too heavily on performance and overlooked access during an alarm. That decision created unnecessary stress. It also changed how I evaluate equipment.
Energy efficiency is more than a low standby rating. Compare electricity use per test cycle under realistic temperature and humidity loads. Thick insulation, efficient compressors, variable-speed components, and automatic standby modes can reduce consumption. A power meter can reveal differences that specifications hide. Check heat rejection, because a warmer laboratory may increase cooling costs. Maintenance also affects efficiency; blocked filters and aging seals waste energy. Some estimates remain uncertain, especially when workloads change. Record actual consumption during a representative week before making a final decision.
| Assessment Area | Key Metric | Practical Selection Benchmark | Why It Matters | How to Verify |
|---|---|---|---|---|
| Temperature Range | Operating temperature capability | Select a range that covers the test requirement with an additional margin of approximately 10–20°C at both limits. | Avoids operating continuously at the chamber’s maximum capability, where recovery and control performance may be reduced. | Compare the required test profile with the chamber’s rated operating range and maximum load conditions. |
| Temperature Stability | Variation around the set point | For general environmental testing, a stability of about ±0.5°C is commonly suitable; tighter tolerances may be required for calibration or sensitive materials. | Stable temperature improves test repeatability and reduces uncertainty in test results. | Request stability data measured after the chamber has reached equilibrium with a representative load. |
| Temperature Uniformity | Difference between measurement locations | A uniformity specification near ±1.0°C is commonly used for general-purpose testing, subject to chamber size and load arrangement. | Uniform conditions help ensure that all specimens experience comparable environmental exposure. | Review temperature mapping results using multiple calibrated sensors distributed throughout the workspace. |
| Humidity Control | Relative humidity operating range and control accuracy | A typical humidity chamber may cover approximately 10–95% RH over a defined temperature range, with control accuracy commonly around ±2–3% RH. | Humidity performance is essential for corrosion, aging, packaging, electronics, and material durability testing. | Confirm the humidity range at the intended temperature and check whether the stated accuracy applies to the full working volume. |
| Ramp and Recovery | Heating, cooling, and recovery rate | Compare the required temperature transition rate with the chamber specification under the actual specimen mass and loading pattern. | Fast ramping can shorten test cycles, while recovery performance determines how quickly conditions return after door opening. | Evaluate ramp-rate curves and recovery-time data using a load representative of the planned application. |
| Test Volume and Load | Working volume, shelf capacity, and specimen mass | Choose a working volume that allows airflow around specimens; avoid blocking supply and return air paths. | Overloading can create temperature and humidity gradients and may increase energy consumption. | Check internal dimensions, shelf loading limits, access clearance, and the recommended specimen-to-volume ratio. |
| Overtemperature Protection | Independent high-temperature safety limit | Use a separate, adjustable overtemperature controller that can shut down heating independently of the primary controller. | Independent protection helps prevent thermal damage to specimens, chamber components, and nearby equipment. | Verify independent sensor operation, alarm response, heater cutoff, and manual reset behavior. |
| Electrical and Refrigeration Safety | Protection against electrical faults and refrigerant-related risks | Look for circuit protection, grounding, door interlocks where appropriate, high- and low-pressure protection, and documented refrigerant information. | These features reduce risks associated with electrical faults, compressor operation, and abnormal system pressure. | Review the safety circuit diagram, conformity documentation, service requirements, and emergency shutdown procedure. |
| Energy Efficiency | Electrical power demand and energy per test cycle | Compare measured energy use in kWh per test cycle or kWh per 24 hours under the same temperature, humidity, load, and ambient conditions. | Energy consumption depends strongly on set point, ambient temperature, load, door openings, insulation, and test duration. | Request power data for representative operating conditions rather than relying only on maximum rated power. |
| Insulation and Door Sealing | Heat leakage and moisture leakage | Prefer well-insulated panels, an effective door gasket, and a heated or controlled door frame when condensation is a concern. | Good sealing reduces heat loss, compressor workload, frost formation, and unnecessary energy consumption. | Inspect gasket design, insulation construction, door-heater control, and condensation performance during low-temperature operation. |
| Controls and Data Logging | Programmability, alarms, and recorded data | Select a controller that records temperature and humidity, provides deviation alarms, and supports programmable test profiles. | Traceable records support quality investigations, repeatability assessments, and audit requirements. | Check sampling interval, data export format, alarm history, user access control, and time-stamp accuracy. |
| Calibration and Validation | Measurement traceability and mapping capability | Use calibrated sensors and perform periodic chamber mapping under defined empty and loaded conditions. | Calibration confirms sensor accuracy, while mapping identifies spatial differences within the working space. | Review calibration certificates, mapping procedures, acceptance criteria, and the recommended recalibration interval. |
| Maintenance and Serviceability | Routine maintenance workload | Prefer accessible filters, drain systems, water reservoirs, sensors, and refrigeration service points. | Simple maintenance helps preserve performance, reduce downtime, and prevent contamination or moisture-related faults. | Compare cleaning procedures, consumable replacement intervals, access panels, and preventive-maintenance instructions. |
Choosing a climate chamber involves more than checking temperature and humidity ranges. Compliance evidence matters. Ask for calibration records, qualification procedures, alarm documentation, and test reports linked to recognized standards. These records should be clear enough for an auditor to follow without a long explanation.
Support services also affect reliability. Confirm response times, technician availability, spare-part planning, software updates, and user training. A chamber can meet specifications on paper yet create costly delays when a sensor fails. During evaluations, request a realistic service scenario. What happens after an alarm at 6 p.m.? The answer may reveal more than a sales presentation. I have found that support promises need written service levels. Verbal assurances are easy to misunderstand.
Tips: Build a five-year ownership estimate. Include energy use, calibration, maintenance, validation, installation, training, and possible downtime. Compare operating costs under your actual test cycle, not a brochure setting. Check room ventilation and electrical requirements early. Small oversights become expensive. Also, review data integrity controls and access permissions before purchase. A low initial price can hide recurring costs, while an over-specified chamber may waste energy and floor space. Revisit your assumptions before approval; even a careful calculation can miss local service costs or production changes.
A practical procurement model compares the factors that most directly affect test validity and long-term operating risk. Compliance verification covers applicable environmental-test methods, calibration traceability, uniformity, stability, and documented test records. Support services include preventive maintenance, calibration, response time, spare parts, and operator training. Total ownership cost includes purchase, energy, maintenance, calibration, downtime, and end-of-life costs.
Illustrative weighted evaluation: compliance verification 40%, support services 25%, and total ownership cost 35%. Higher scores indicate a stronger fit for a controlled laboratory testing program.